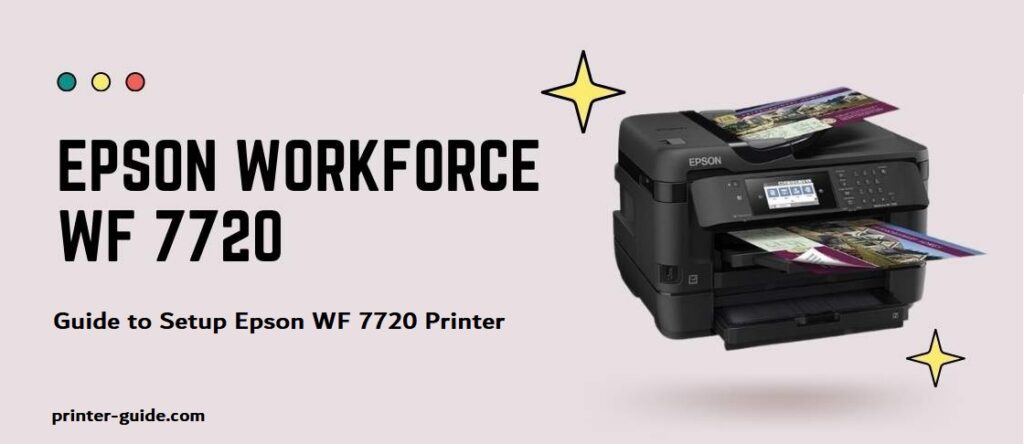
The Epson 7720 Printer, with top-notch performance beyond laser, uses up to 80% less electricity than color laser printers. Once you’ve completed the setup of this printing machine, you may print all of your documents and images using both wired and wireless media. Although it may appear that setting up this printer is simple and uncomplicated, you must carefully follow the recommended directions to avoid making any mistakes, especially if you are unfamiliar with printers.
We’ll go through how to set up an Epson WF 7720 Printer and give you some tips on how to use the device without making mistakes.
Manual for Epson WF-7720 Printer
It is recommended that you read the user manual that comes with your Epson 7720 Printer before beginning to set up the printer. The Epson WF-7720 printer manual contains thorough information about the printer’s drivers, as well as Epson Printer 7720 driver information, Epson WF 7720 printer setup, and more. An overview of the handbook will not only give you a better understanding of how the printer works, but it will also equip you to deal with any future printer-related issues.
Drivers for Epson 7720 Printer
The Epson 7720 Printer drivers must be installed on your computer as part of the printer setup process. Your recently purchased Epson 7720 Printer comes with a driver CD that you must install in order to ensure correct device setup. If you don’t have this CD, you can get the Epson Printer 7720 drivers from the printer manufacturer’s website. Simply insert the CD into your computer’s optical drive and follow the on-screen prompts if you have the printer software CD. Follow the steps outlined below to download Epson 7720 printer drivers:
-Open your computer’s web browser and go to Epson’s official website.
-Find the search bar under the drivers and downloads area.
-Click the search bar and type in the name and model number of your printer.
-Find and click on the ‘Download’ link.
-Wait for your computer to download the printer software.
-Save the downloaded file to your computer’s local disk after the download is complete.
loading the Epson WF 7720 Printer Cartridge:
Apart from installing the printer driver on your Epson WF 7720, loading the Epson WF 7720 printer cartridge can be a difficult operation, especially if you’re unfamiliar with printers. However, you may ensure a hassle-free loading or replacement of your printer’s ink cartridge by following the procedures below:
-Turn on the printer and check that the power LED is illuminated.
-Raise the scanning unit and open the printer’s access door.
-After compressing the tab on the ink cartridge, lift it straight up to remove it.
-Be sure to remove the fresh cartridge 4-5 times before removing the yellow tape.
-Push the new ink cartridge down into the printer’s holder until you hear a click.
Close the printer’s access door and lower the scanner unit once you’ve completed the series of procedures outlined above. The printer will begin charging the ink cartridges, which may take a few minutes. A charging completion notification will also appear on the LCD panel, indicating that the ink replacement or loading is complete.
How do I set the Epson WF 7720 printer?
You can start the setup process once you have completed the ready setup of your new Epson WF 7720 printer. To begin, take the printer out of the box and double-check that you have all of the necessary attachments in addition to the printer. Additionally, ensure sure the printer is on a flat surface and within range of your wireless router or access point. After you’ve completed these first steps, follow the instructions below to finish setting up your Epson printer:
-Plug the printer’s power adapter into an outlet and turn the switch on. To turn on the printer, press the power button on the control panel.
-Use the control panel to choose your chosen language, country, and time.
-Within the scanner unit, open the printer’s ink cartridge lid.
-Before unboxing the ink cartridges, give them a good shake.
-Remove the yellow tapes off the ink cartridges and insert them into the printer’s slots.
-Close the scanning unit and wait approximately 6 minutes for an ink charging notification.
Place plain A4-size papers in the paper cassette now, making sure the print is facing downwards.
Ensure to see if the paper and print settings are correct. Also, make sure the Epson 7720 printer paper is loaded properly. Now, using the CD that comes with the printer, install the printer software. If you didn’t receive the CD, go to Epson’s official website and download and install the software.
Why is my Epson WF-7720 printer offline?
It may happen that your Epson WF 7720 Printer goes offline and you are unable to print any of your documents. Incorrect printer settings are one of the most common reasons why consumers ask inquiries like why is my printer offline Epson WF-7720. You can go to Start > Settings > Devices > Printers and Scanners in such circumstances. Right-click on the Epson Printer in the list and select ‘See what’s printing’ once you’re in the “Printers and Scanners” box. A pop-up window will notice on the screen, prompting you to pick ‘Printer’ and then ‘Use Printer online.’
Another factor that frequently results in issues such as printer inaccessibility is The Epson WF-7720 error is caused by a breakdown in communication between your printer and your computer. The printer may go offline if it is not connected to the internet through Wi-Fi or a USB cord. You can check by restarting the printer and seeing if it connects. If not, double-check that all of the printer’s wires are correctly connected, and that the printer and your computer are both connected to the same wireless network.
How do I run the Epson 7720 printer check?
It’s critical to keep the printhead’s nozzle clean. When a clogged printhead causes delays in delivering high-quality printouts over a long period of time, this can occur. In such circumstances, physically opening and cleaning the printhead is required to achieve the appropriate print quality. To avoid this inconvenience, run a printer check on your Epson 7720 Printer by following the steps below:
-Connect the printer’s power adapter to an electrical outlet and turn it on by pushing the power button.
-Insert a couple sheets of plain A4 paper into the printer.
-On the printer’s control panel, select ‘Setup’ with the up or down arrow keys, then press the ‘OK’ button.
-From the drop-down list, select ‘Maintenance’ and then press OK.
-To run the printer check on your Epson 7720 Printer, select ‘Print Head Nozzle Check’ and press the OK button.
When setting an Epson WF 7720 printer, ensure ready the printer driver is up to date. If you don’t receive the driver CD, you can download it from Epson’s official website’s ‘Drivers & Downloads’ section. It is recommended that you read the user manual that came with the printer. This will assist you in gaining a comprehensive grasp of how the printer operates, as well as resolving you prepared to resolve any printer issues that may occur in the future. Follow the Epson 7720 Printer setup instructions to the letter and start enjoying a brand-new printing experience right away.